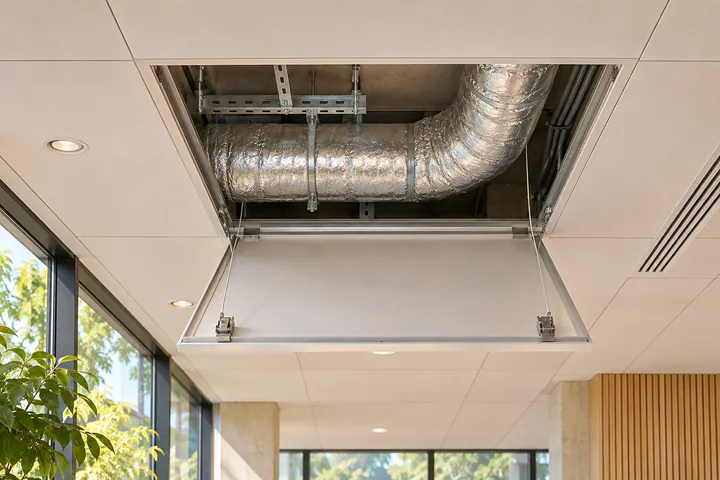

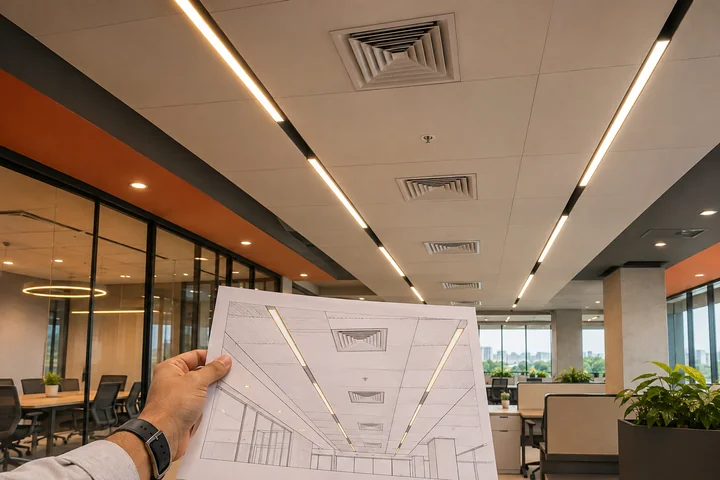
Review a reflected ceiling plan against furniture, partition heads, lights and service access using the current drawing revision during a site walk.
Overview
Use a reflected ceiling plan to review visible fittings, service routes and access points together. Bring the current layout and specialist drawings to a room-by-room review. The ceiling plan becomes more useful when it also records who will resolve each conflict and which areas can be released.
Start with the room below
Confirm where partitions, furniture, doors and focal areas will sit. Check the position of fittings against how the space will actually be used. A light centred in an empty room may appear off-centre once fixed furniture or partitions are installed. Identify which alignments matter visually and which need to follow technical or maintenance requirements.
For the related planning decisions, read the guide to planning HVAC access before the ceiling closes.
Compare the drawings at conflict points
Put lighting, air terminals, access hatches and other relevant fittings on the same coordinated plan. Use a section where two items compete for height or cross at different levels. Ask the responsible specialists to review the installation and any required safety or acoustic provisions. Record what each trade needs before it can confirm its own work.
Walk one difficult area on site
Review a meeting room, corridor or service zone with the trades involved. Point out the wall, door and ceiling lines that anchor the drawing. If a hatch shifts away from the intended service point, confirm what can be reached from the revised position. Avoid approving the visible ceiling pattern while leaving hidden access questions unanswered.
Work through an example
If a corridor light and a maintenance panel are shown in the same location, compare the requirements before moving either item. One may have greater flexibility than the other. Ask the ceiling and services teams for a coordinated alternative and a section where needed. Publish the revised location on the same drawing used to release the corridor.
Mark the release by room
Record the latest plan and section reference, agreed positions, remaining decisions and sign-off needed. When something changes, share the revision with the ceiling contractor and affected trades. Keep the final marked plan with the handover records so maintenance teams can locate the hidden systems later.
Bring your current plan and the decisions still open when you discuss HVAC and ceiling coordination.
For a general reference on recording project and systems information, see the VA commissioning manual.
Use a room reference to connect plan and site
Identify the room and current ceiling drawing before discussing a conflict. Compare the plan with the relevant elevations and service information. Where a feature looks misaligned, record which reference it should align with rather than moving it to suit one trade in isolation.
Ask the designers and relevant specialists to resolve clashes that affect performance, access or the approved appearance. Photograph the location with a drawing reference and record the next action. Release only the areas for which the required decisions and checks have been completed.
Is the reflected ceiling plan the same as a lighting layout?
A reflected ceiling plan coordinates the visible ceiling arrangement and relevant elements. The lighting and other specialist drawings provide their own details and requirements; review them together instead of treating one as a replacement for the others.
Discuss your project
Bring the ceiling, furniture and services drawings to discuss your outstanding site interfaces. Explore HVAC and ceiling coordination to discuss the relevant scope.