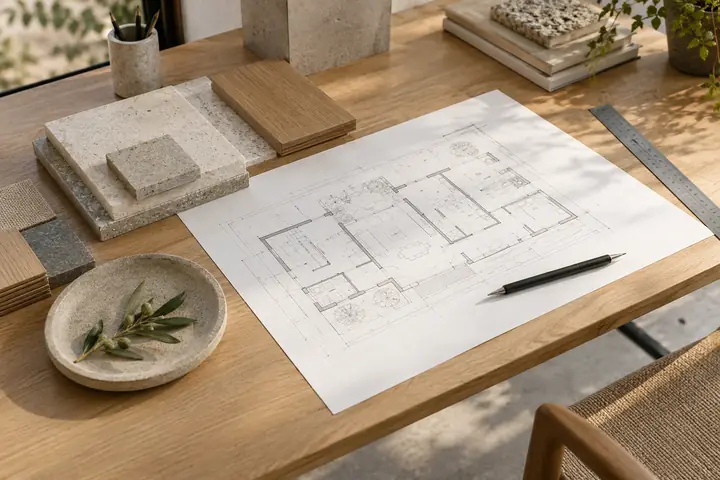

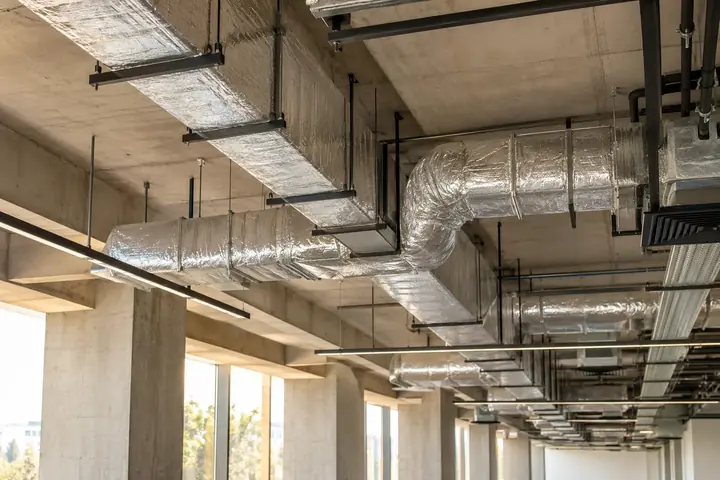
Mark the HVAC service points on the ceiling plan before the finishes are approved. Have the HVAC contractor confirm where a technician needs to reach, what must be removable and how equipment will get out when it needs replacement. Check the access route against the furniture and partition layouts as well as the ceiling drawing.
Start with the selected equipment
Ask the HVAC team for the equipment schedule and manufacturer service requirements. Identify which components need access for routine cleaning, checks or replacement. The list might include filters, drain points or controls, depending on the system. Ask which side is serviced and whether the technician needs space to withdraw parts rather than simply reach them.
Check the complete path
Walk the route from the room entrance to the service point. A panel above a fixed cabinet can be visible while still being awkward to open. A removable ceiling tile may give access to a small valve while offering too little room to extract a larger component. Ask the ceiling and HVAC teams to confirm the opening and route together on site.
Review the ceiling as a single drawing
Overlay lighting, partition heads, access panels and all relevant services on the reflected ceiling plan. If a light occupies the best location for an access panel, ask which item can move and who will issue the updated drawing. Agree how panels align with joints and finishes. Record responsibility for any fire, acoustic or other assembly requirements with the relevant designer.
Run a practical handover check
In a hypothetical meeting room, a technician may be able to reach a filter from a marked access panel but have no safe position for access once the table is fixed in place. Flag the conflict in the layout review. At handover, ask the team to demonstrate access and confirm that the final ceiling plan records the service points as built.